Your Tumbler's Logo Looks Faded? The Laser Secret Most Suppliers Miss
I was visiting a potential client last month, a growing beverage company, and they showed me their current branded tumblers. The logos were… okay. But you could tell they’d been done cheaply. The edges were fuzzy, and on the curved part of the tumbler, the design looked a little stretched. It’s a common story. They thought laser engraving was just about pushing a button. In my ten years sourcing and producing drinkware, I’ve learned it’s anything but. The magic—and the durability—is in the details long before the laser ever fires up.


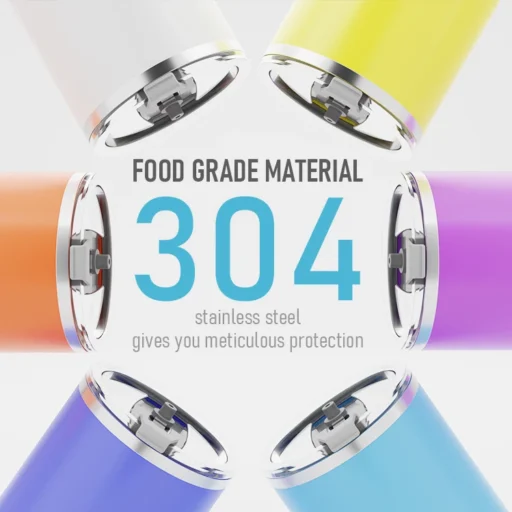
(The above are actual products generated by our company, very exquisite)
It All Starts With a "Dumb" File
Here’s the biggest mistake I see: someone sends a beautiful, detailed JPG of their logo. It looks great on a screen! But to a laser engraver, that JPG is a confusing mess of pixels. The laser needs a map with crystal-clear instructions. That map is a vector file (think .AI or .SVG).
A vector file doesn’t use pixels. It uses points and paths, like a connect-the-dots drawing. This means the laser head follows perfectly sharp lines, no matter how big or small you make the design. If your logo has text, the text must be converted to outlines. If it doesn’t, and the laser software doesn’t have the exact font you used? You’ll get a default font instead. Talk about a branding nightmare! We always ask for vectors, and the suppliers who know their stuff demand them, too.
Why Your Tumbler's "Skin" Matters Most
You can’t laser engrave just any surface. The classic stainless steel 40oz tumbler you see everywhere usually has a colored coating or anodized layer. This is the secret to that crisp, high-contrast mark. The laser doesn’t actually etch the metal itself at first; it vaporizes that top layer of color to reveal the shiny silver metal underneath. It’s a permanent, wear-resistant mark.
But if the surface isn’t perfectly clean? The results are a disaster. Even a single fingerprint can block the laser, leaving a faint spot in the middle of your perfect logo. Our first step is always a thorough wipe-down with isopropyl alcohol. It’s a simple step, but skipping it is the difference between a premium product and a reject. Have you ever received a batch where some logos look splotchy? I’d bet money the surface prep was rushed.

The Sweet Spot: Power, Speed, and a Spinning Cup
This is where the real art comes in. The laser has settings for power and speed. Too much power and you’ll burn through the coating, leaving a rough, scorched mark. Too little, and the logo will be faint and might wear off quickly. The speed controls how quickly the laser moves. Too slow, and it burns; too fast, and it barely scratches the surface.
But here’s the kicker with tumblers: they’re round. The laser needs a special rotary attachment that spins the tumbler while the laser head moves. If the software isn’t told the exact diameter of your cup, the design will be distorted—stretched out and weird-looking. Getting this calibration right is non-negotiable. We always, always run a test on a sample from the same production batch. It takes five extra minutes and saves thousands in ruined merchandise.
The Final Touch Isn't What You'd Expect
The laser finishes its job, and you have a beautifully engraved logo, right? Not quite. There’s often a fine residue of smoke and debris left on the surface. The final step is a gentle wipe-down with a soft, lint-free cloth. This removes the residue and makes that contrast between the coating and the exposed metal really pop.
This is also when we do the quality check. We’re looking for even darkness across the entire design, sharp edges, and perfect alignment. A quick rub-test with a thumb ensures it’s durable. It’s this attention to the very last step that separates a professional job from an amateur one. After all, your logo is the face of your brand. Shouldn’t it look its absolute best?