Description
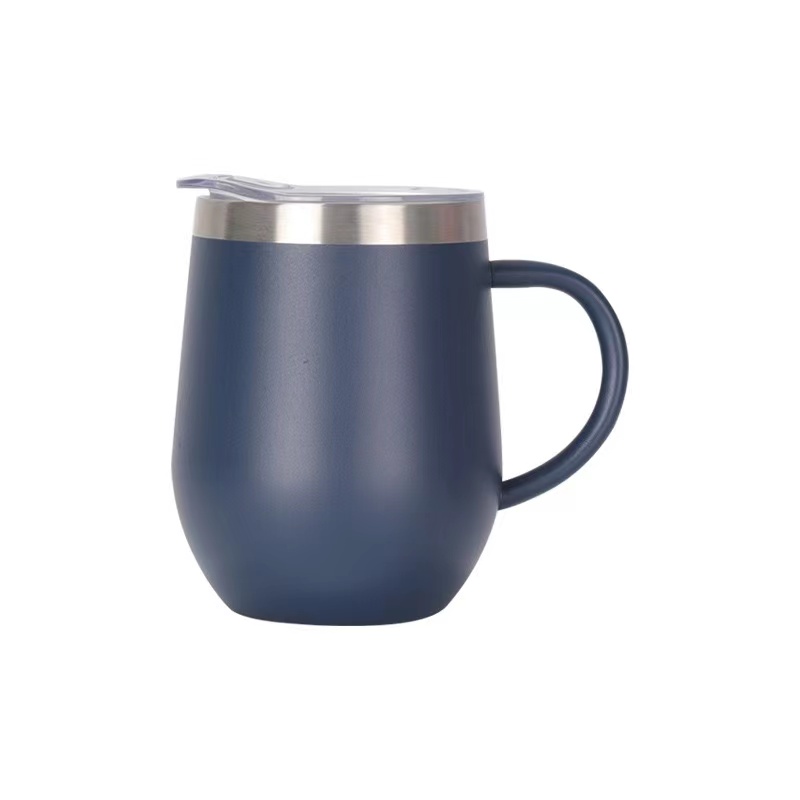
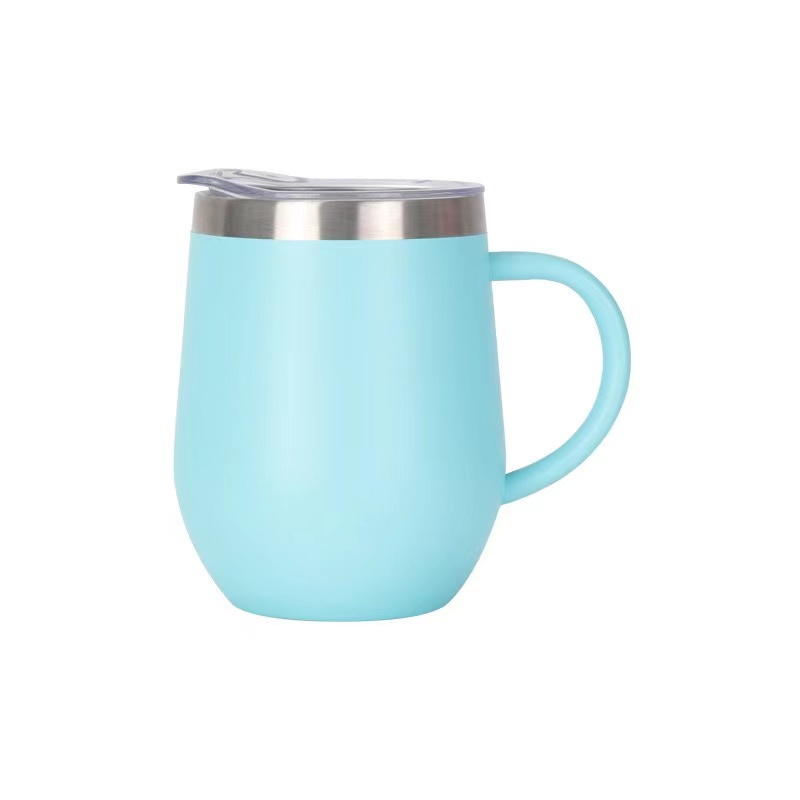
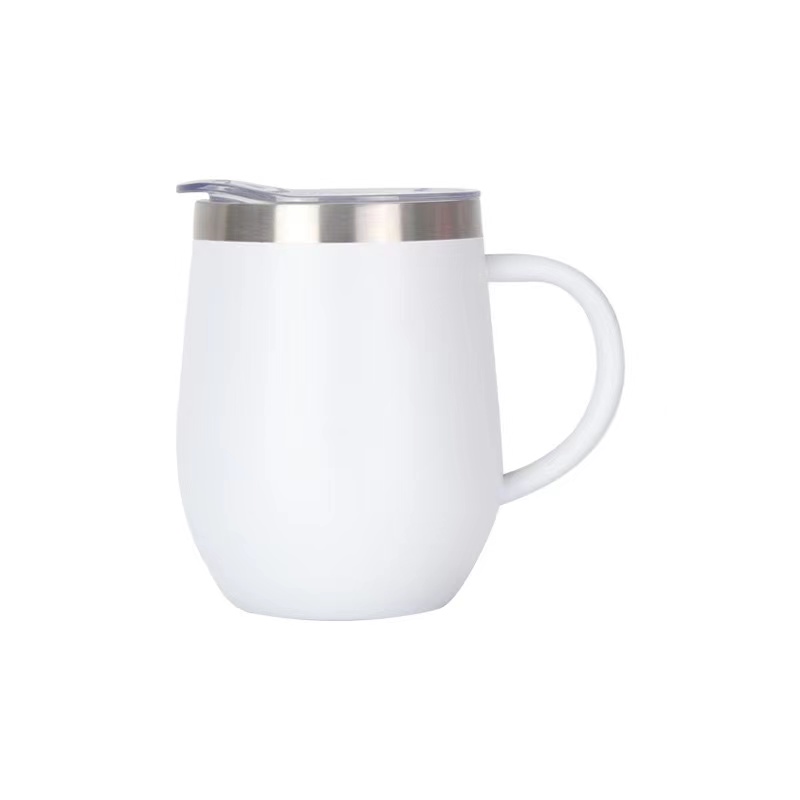
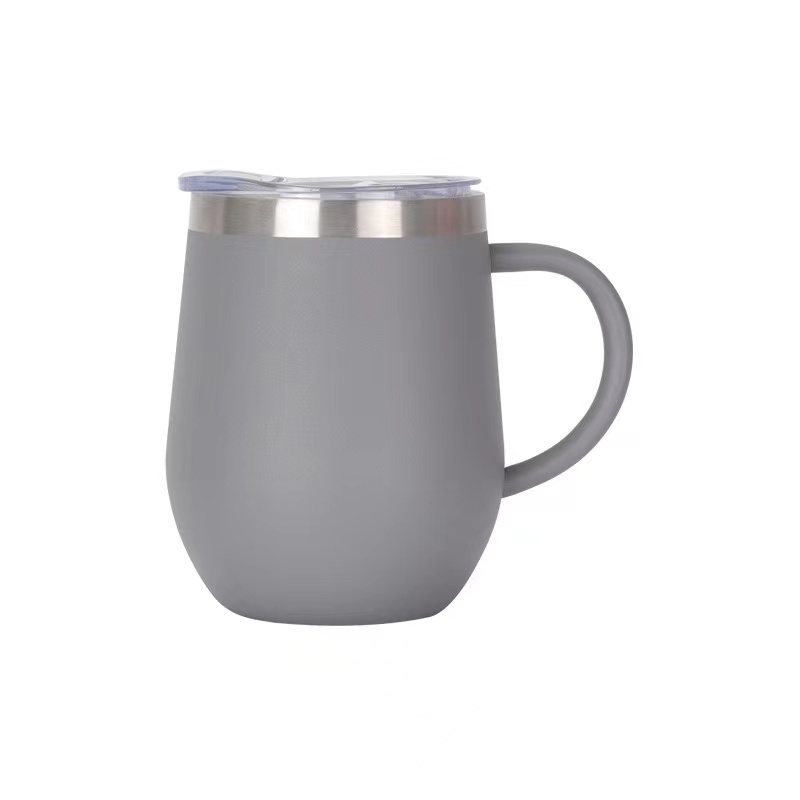
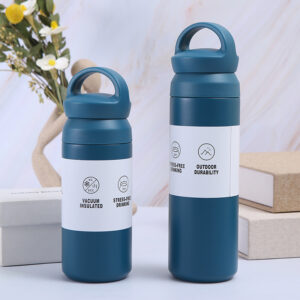
Custom Egg Shape Insulated Vacuum Mug with Handle
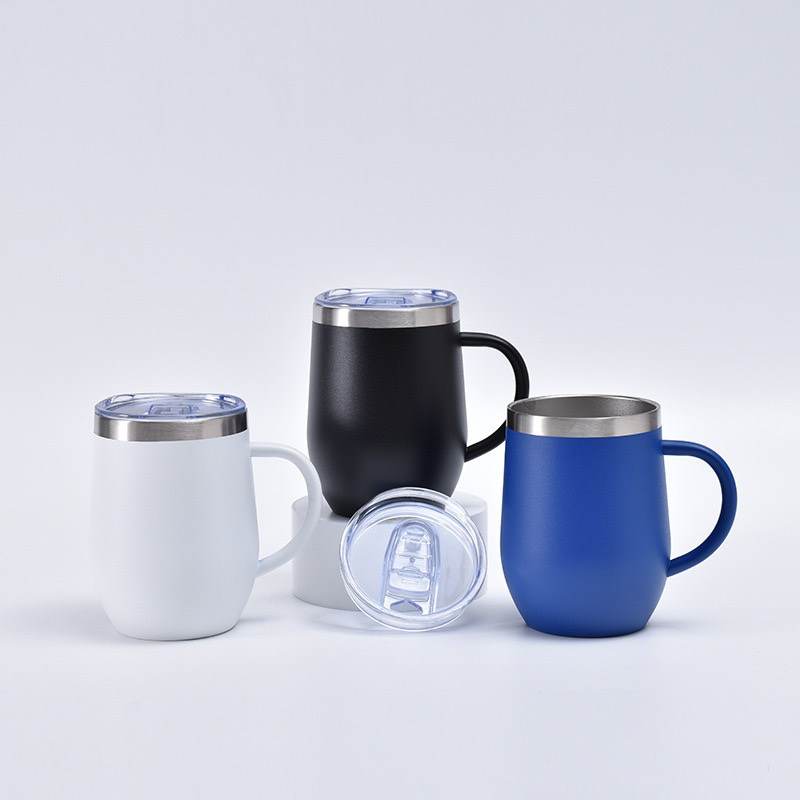
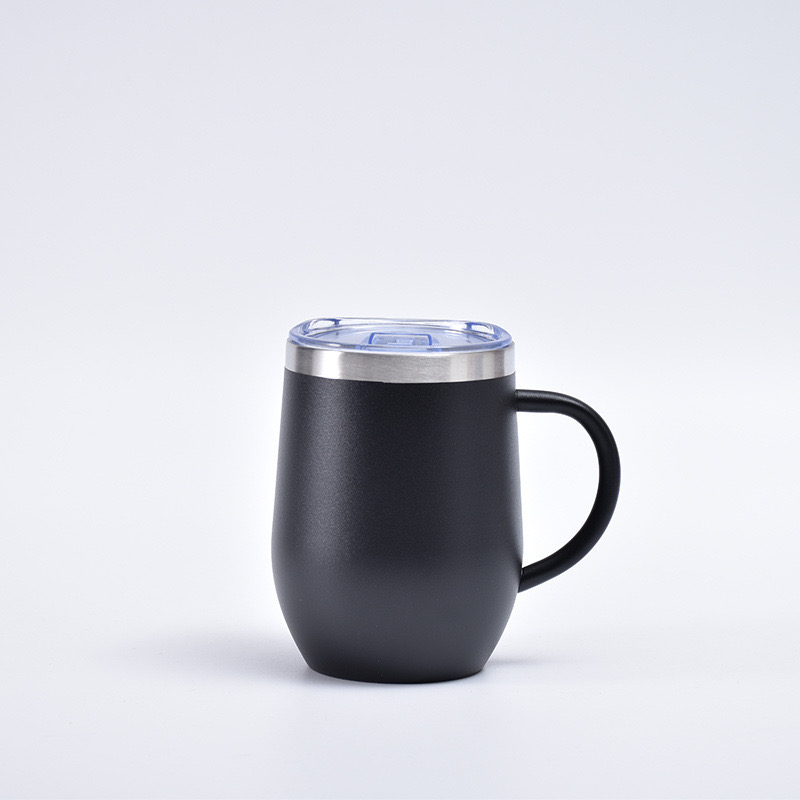
An egg-shaped vacuum mug with a handle is a tooling project disguised as a product. The curved body has no straight section for a standard weld fixture, the handle meets a surface that curves in two directions, and the vacuum seam has to follow a profile that changes along its length. This page covers what that means for development time and where the cost actually sits.
Two shells, both non-cylindrical
A standard vacuum tumbler is two cylinders with a straight longitudinal seam. An egg profile is a surface of revolution with a varying radius, so both the inner and outer shell require deep drawing with a matching punch profile, and the seam runs along a curve.
The consequence is that the welding fixture is not a straight-line machine. It follows the profile, which slows the cycle and increases the tooling cost. This is the single largest line item in the development budget, and it does not scale down with order quantity.
Wall thickness control on a curved body
Deep drawing thins the wall where the material stretches most. On a cylinder that happens predictably at the base radius. On an egg profile the thinning is distributed unevenly along the curve, so the vacuum gap is not uniform.
A non-uniform gap is not automatically a defect, but it does affect retention consistency between units. Ask for a wall thickness map from the first article inspection rather than a single nominal figure. If the supplier cannot produce a map, they have not measured it.
Attaching a handle to a curved surface
On a straight wall a handle bracket sits flat. On a curved wall the bracket contacts along a line, not a face, and the weld has to bridge a gap that varies. That is where handles loosen.
Two workable approaches: a saddle-shaped bracket machined to match the local curvature, or a collar that wraps the narrowest part of the profile and carries the handle from there. The collar approach distributes load better and is easier to inspect.
Ask which approach is used and how the weld is inspected. On a curved body, a visual check is not sufficient; a dye penetrant test on the bracket weld is a reasonable minimum.
Development timeline
The realistic sequence: profile design and 3D review, tooling for both shells, first article, vacuum and leak validation, handle attachment validation, then decoration trials. Two rounds of tooling correction are normal on a profile like this.
Budget eight to twelve weeks from drawing approval to a saleable sample. Programs that quote four weeks are usually reusing an existing profile rather than developing a new one — worth asking directly.
Decoration on a compound curve
Pad printing handles the curvature better than screen printing, because the pad conforms. Laser engraving works but the apparent line width changes with the surface angle, which matters for fine detail. Water transfer can wrap the shape but needs a top coat on high-touch areas.
Keep artwork away from the areas of highest curvature change. That is where registration fails and where the print distorts visibly.
What to settle before tooling
- Exact profile drawing, with the vacuum seam path defined
- Wall thickness map from first article, not a nominal value
- Handle attachment method and weld inspection standard
- Tooling cost, ownership and amortisation terms
- Development timeline with correction rounds included
- Decoration method matched to the curvature
Tooling ownership is worth a line in the contract. On custom profiles the tooling is often the most valuable asset in the relationship.
Ordering & lead time
| Minimum order quantity | 100 pcs per SKU |
| Sampling lead time | 3 days |
| Production lead time | 7 days |
| Monthly capacity | 100,000 pcs |
Lead times apply to existing tooling and standard colours. New mould development or custom colour matching carries its own schedule — confirm before committing to a delivery date.